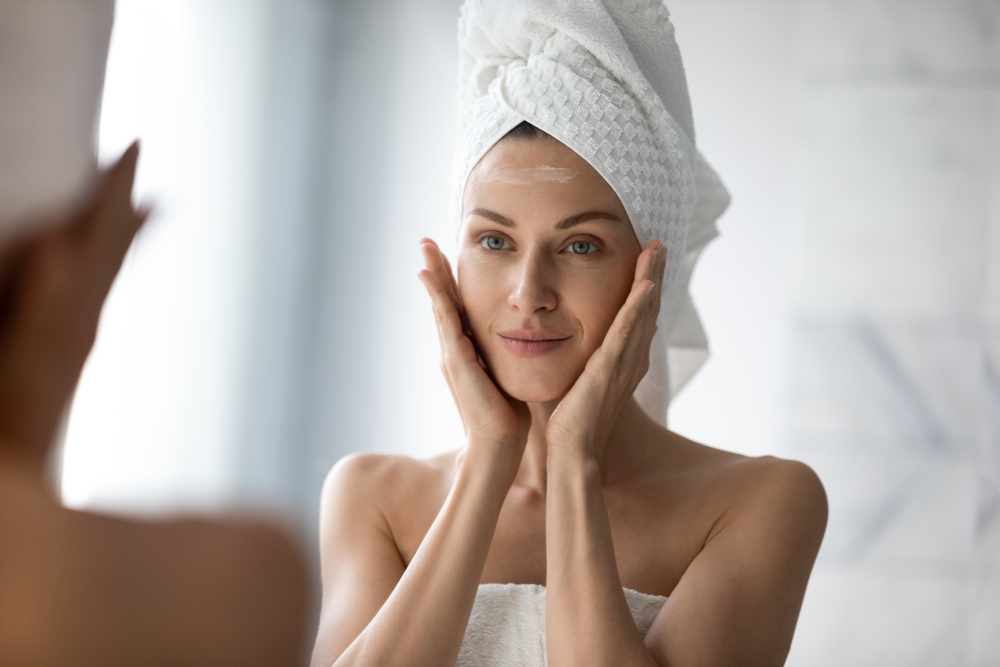
It’s no surprise that a lot of use will be suffering with dry, dehydrated skin at the minute. Being inside with the heat on and not getting the same amount of vitamin D and fresh air that we are used to can be difficult. We may also be carrying a lot of tension in certain areas of the face.
We have created a simple step-by-step guide on how you can create the perfect at home facial massage and it’s super easy but very relaxing!
Step 1.
Choose your favourite Face Treatment Oil or Serum, warm a few drops in the palms of your hands and inhale the aroma. We would recommend using your favourite product that your spa therapist usually uses to achieve the feeling of being relaxed at the spa.
Step 2.
Press the oil into your skin before working in upward circular movements through jawline, cheeks and forehead. Really work the product in to those dry and dehydrated areas of the face and neck. Your pressure should be firm but not deep.
Step 3.
Gently pinch along the jaw line, then repeat this technique along both eye brows. These are key areas that the face holds tension, working the product into these areas should release pressure and help you feeling relaxed.
Step 4.
Using your ring finger, lightly circle under the eye from outer to inner corner and repeat. This area of the face is very delicate, you may want to adjust your pressure a little.
Step 5.
With both middle fingers, criss-cross in firm strokes up the centre of the forehead from nose to hairline and repeat.
Step 6.
Massage your forehead using small, circular movements and finish by applying light pressure to each temple to ease tension. Let the product seep into your skin and finish with a herbal spritz to close the pores.
If you would like to order some ESPA products to use at home, you can still shop online and they’ll be delivered straight to your front door. Click here to shop!
Love,
Rebecca x